Transaction Log Custom Graph Template
Transaction Logging is a useful practice for monitoring, auditing and debugging transactions in Kitewheel. Each transaction in a graph is recorded with start and end time stamps, input/ output schema values, success state and graph name.
Not every situation calls for transaction logging. If speed is an issue or data persistence is not a problem (i.e. you can afford to ignore failed records) then you may decide not to include transaction logging. Kitewheel recommends transaction logging during development as it speeds up debugging and QA. It is also useful for production systems where you can diagnose the end state of transactions that failed. An alternative approach is to write all failed transactions to an error queue rather than a database.
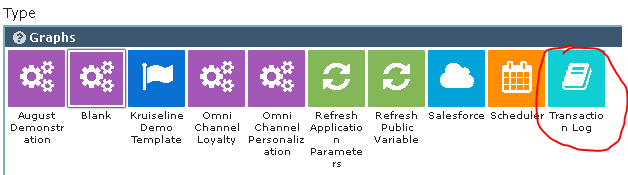
Package contents
- Graphs:
- initiateTxn
- finalisetxn
- Transaction Log (example graph)
- Nodes:
- DB Insert, Update
- Script:
- createGuid - creates a globally unique identifier used as transactionId
- getCurrentTime - creates a timestamp for database insert
- Schema: transaction:{}
Setup
- Create a database table called txnLog like this (MySQL - with MySQL 5.7 you can use json field types for inputMsg/outputMsg - this is not supported in the Kitewheel Aurora DB):
CREATE TABLE transactionLog (
  transactionId varchar(50) NOT NULL PRIMARY KEY,
  tsStart datetime(3) not null,
  tsEnd datetime(3) null,
  graphName varchar(50) not null,
  inputMsg text,
  outputMsg text,
  statusCode varchar(200) not null,
  errorCode varchar(5) not null,
  UNIQUE KEY transactionId_UNIQUE (transactionId)
);
- Create a database connection to the database containing the transactionLog table
- Deploy the Transaction Log graph template
- Set the initiate and finalise transaction sub graph nodes typically on the top level graph that you want to log. There is an example graph included in the graph template.
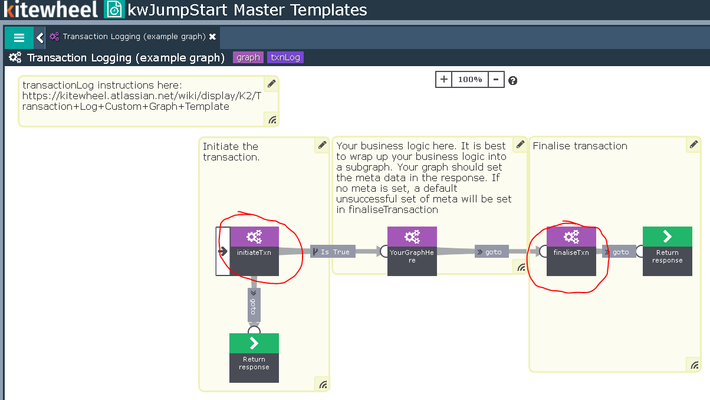
Using
The graph above is included as an example in the graph template. It can be used to test initial setup and then deleted.
- Deploy the Transaction Log template to create all the necessary objects.
- Place the initiateTxn subgraph node as close to the beginning of the top level graph as possible
- This inserts a record to the database detailing the transaction ID, transaction start time, graph name (taken from MetaData) and input schema value
- Place the finaliseTxn subgraph node at the end of your transaction (consider all exit points in your graph).
- This updates the record with transaction end time, output schema value, output status and error codes
- Your business logic should use the 'writeMeta' node to set the outcome of the transaction
- This details the success or failure of the transaction
- It details any error messages encountered throughout the transaction
- If meta data is not set, finaliseTxn will set unsuccessful values into the response by default
- Your business logic should exit (successfully or error) to the finaliseTxn subgraph
Notes:
This is very useful for debugging especially during development. The inputMsg contains the state of the JSON at the beginning of the transaction - this can be copied and used to replicate that exact transaction by submitting the json into the editor.

Privacy Policy
© 2022 CSG International, Inc.