Creating a Graph
Graph Introduction
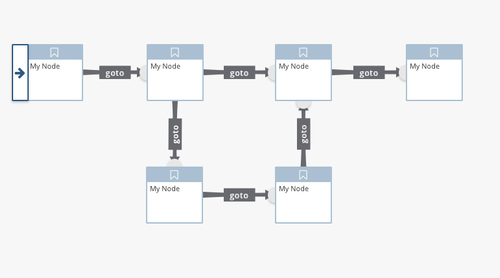
A graph is a series of connected nodes that execute their steps in a predictable fashion. Each node in the graph is either an adaptor, a piece of business logic or another graph. Nodes are connected by Links. A graph will always have a start node and must finish with an Return Node otherwise it will not be valid.
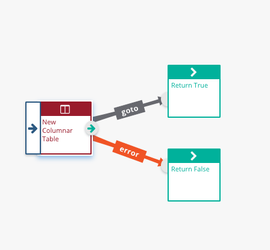
The graph below has three nodes - a Columnar Table and two Return Nodes. It also has two links - one is a Goto link and the second is an Error Link.
The Start Node - this denotes where the graph begins
The first node in the graph is decorated with an attachment on its left hand side - this denotes where the head or start of the graph is and can be moved to any node in the graph.
Image (below): The Start Node decoration.
Links - this denotes where the data flows
The graph is traversed by executing each node in turn and following the relevant link from the current node to the next node based on the return value of the current node. The links are traversed in the following priority order:
- Error - this is the most important condition and will always execute first if the node does not execute correctly
- Conditional - any conditional expression that returns True
- Goto - if none of the above links are traversed
Listening Adaptors - this denotes where and how data will be picked up to be put into the graph
Xponent calls the executable pieces Graphs because they are directed acyclic graphs which are executed by our proprietary graph engine. Graphs can have special starting nodes called listeners that generate work for the graph to execute. Listeners are always shown in the top left hand part of the graph window. Currently, we support having the following listener types:
Drawing a Graph
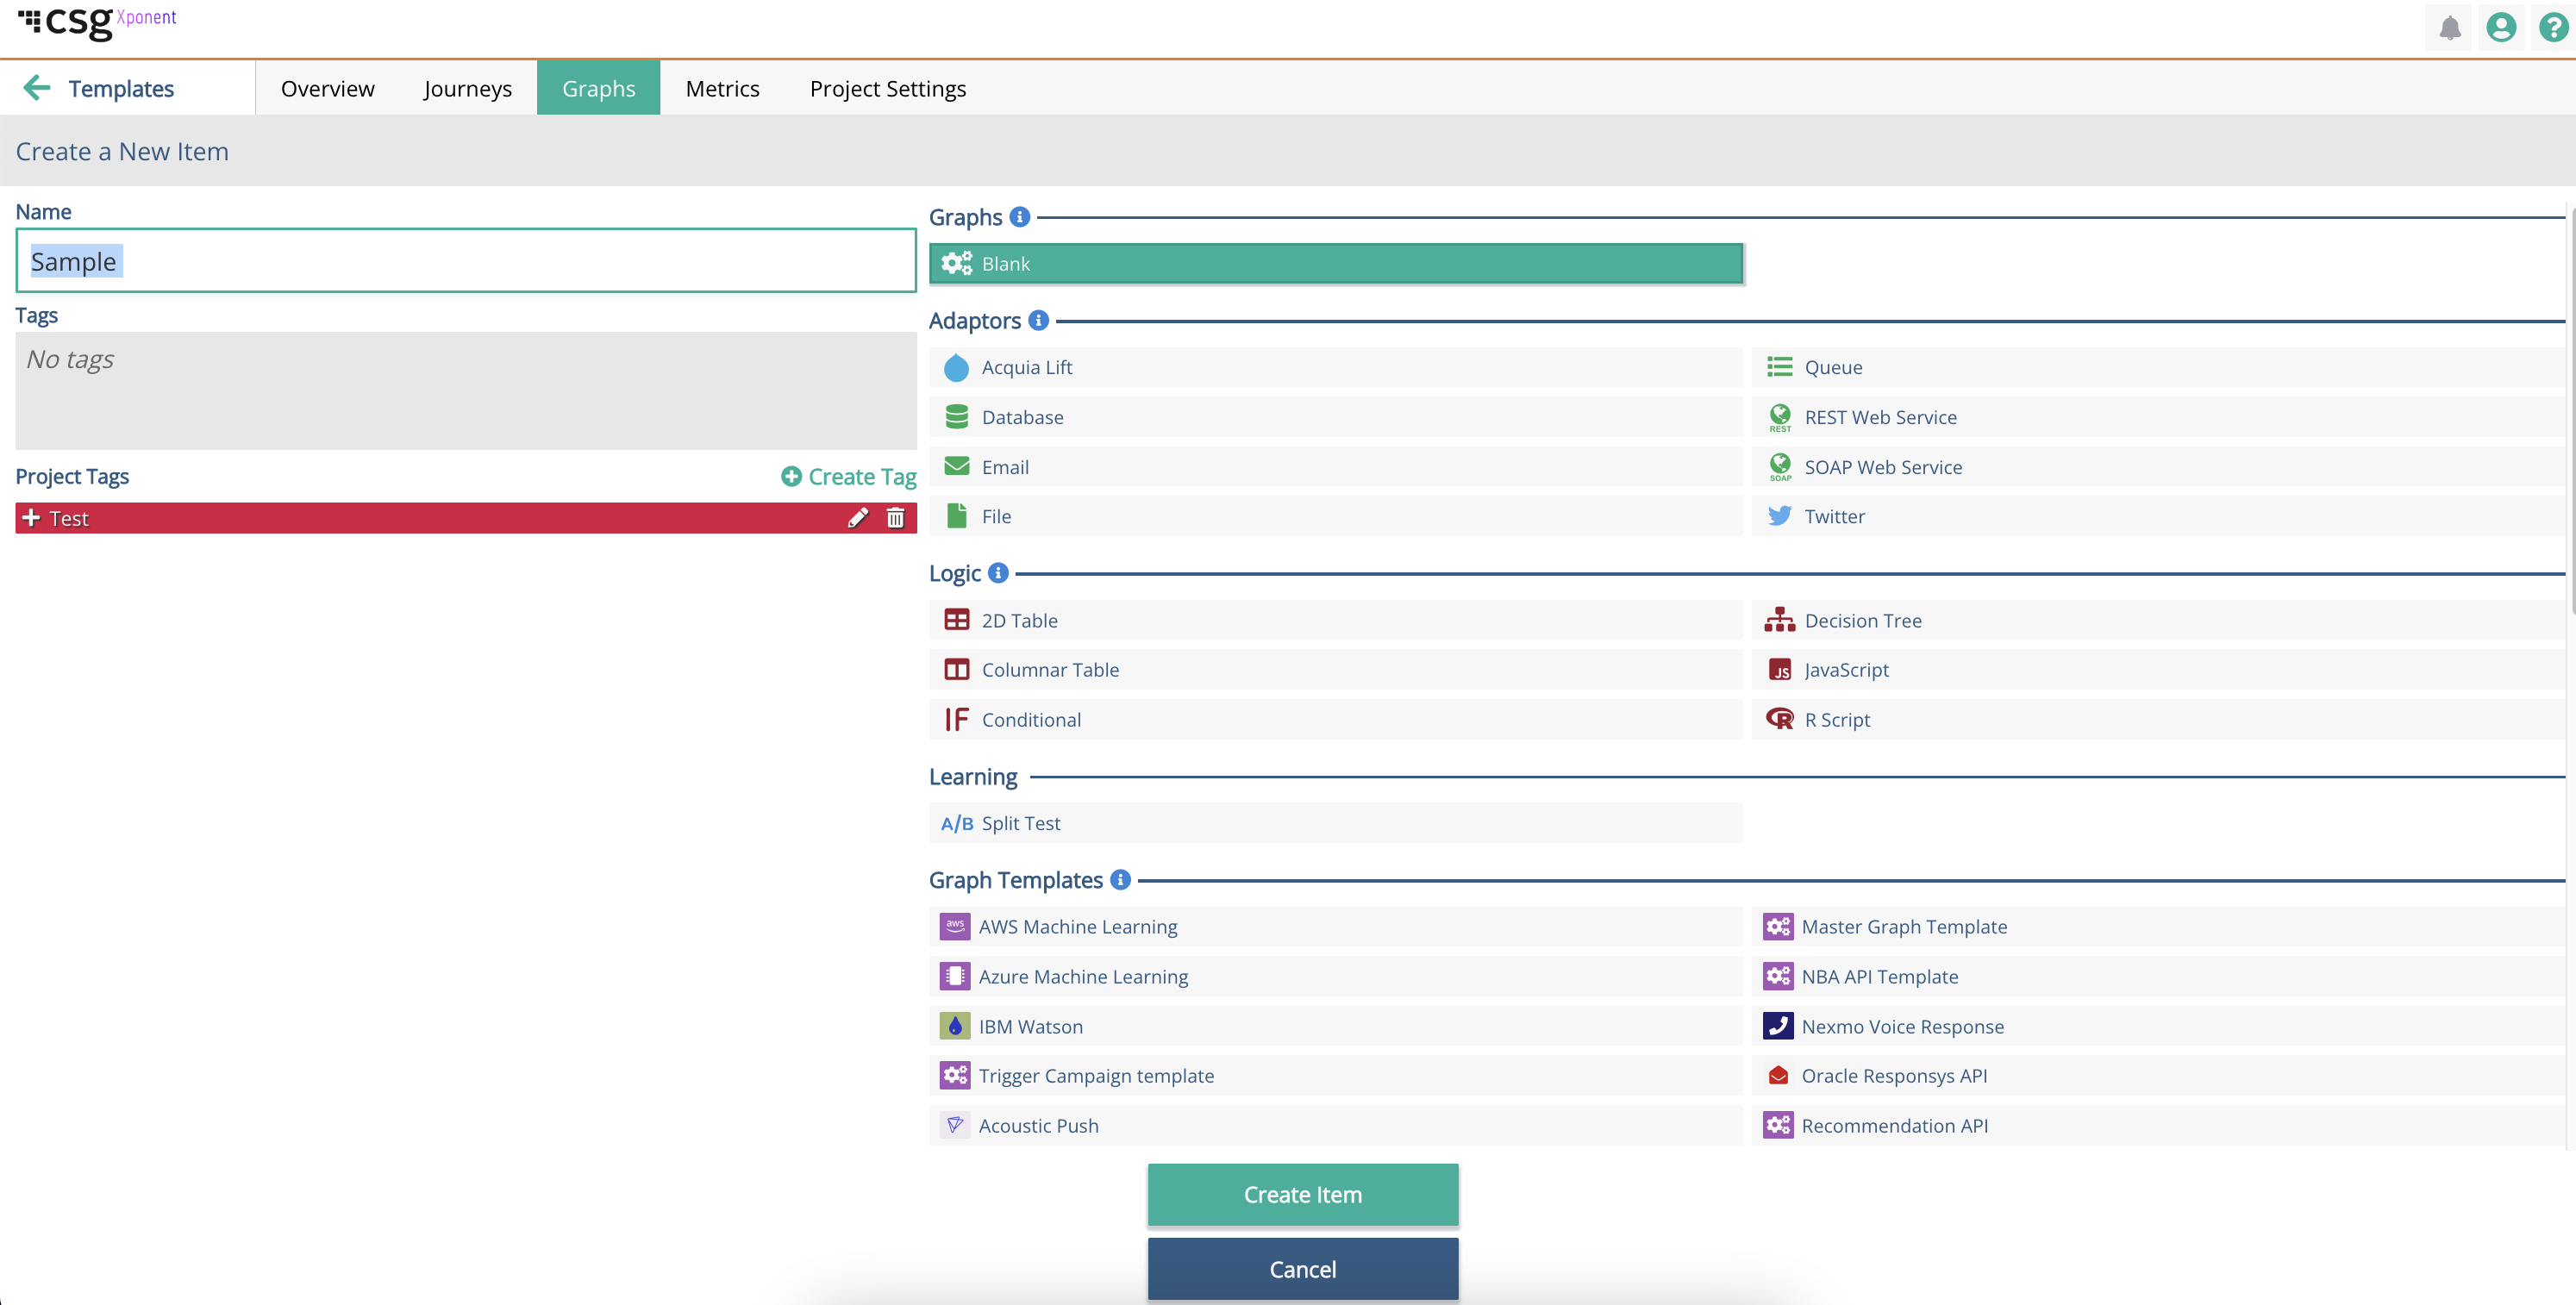
Open the Project Editor from the Home Screen or from the top right part of the Xponent Screen. Press the Plus Button to create a New Item and choose the Blank graph from the right hand selection panel. Give the graph a name and press the large Create New Item Button at the bottom of the window.
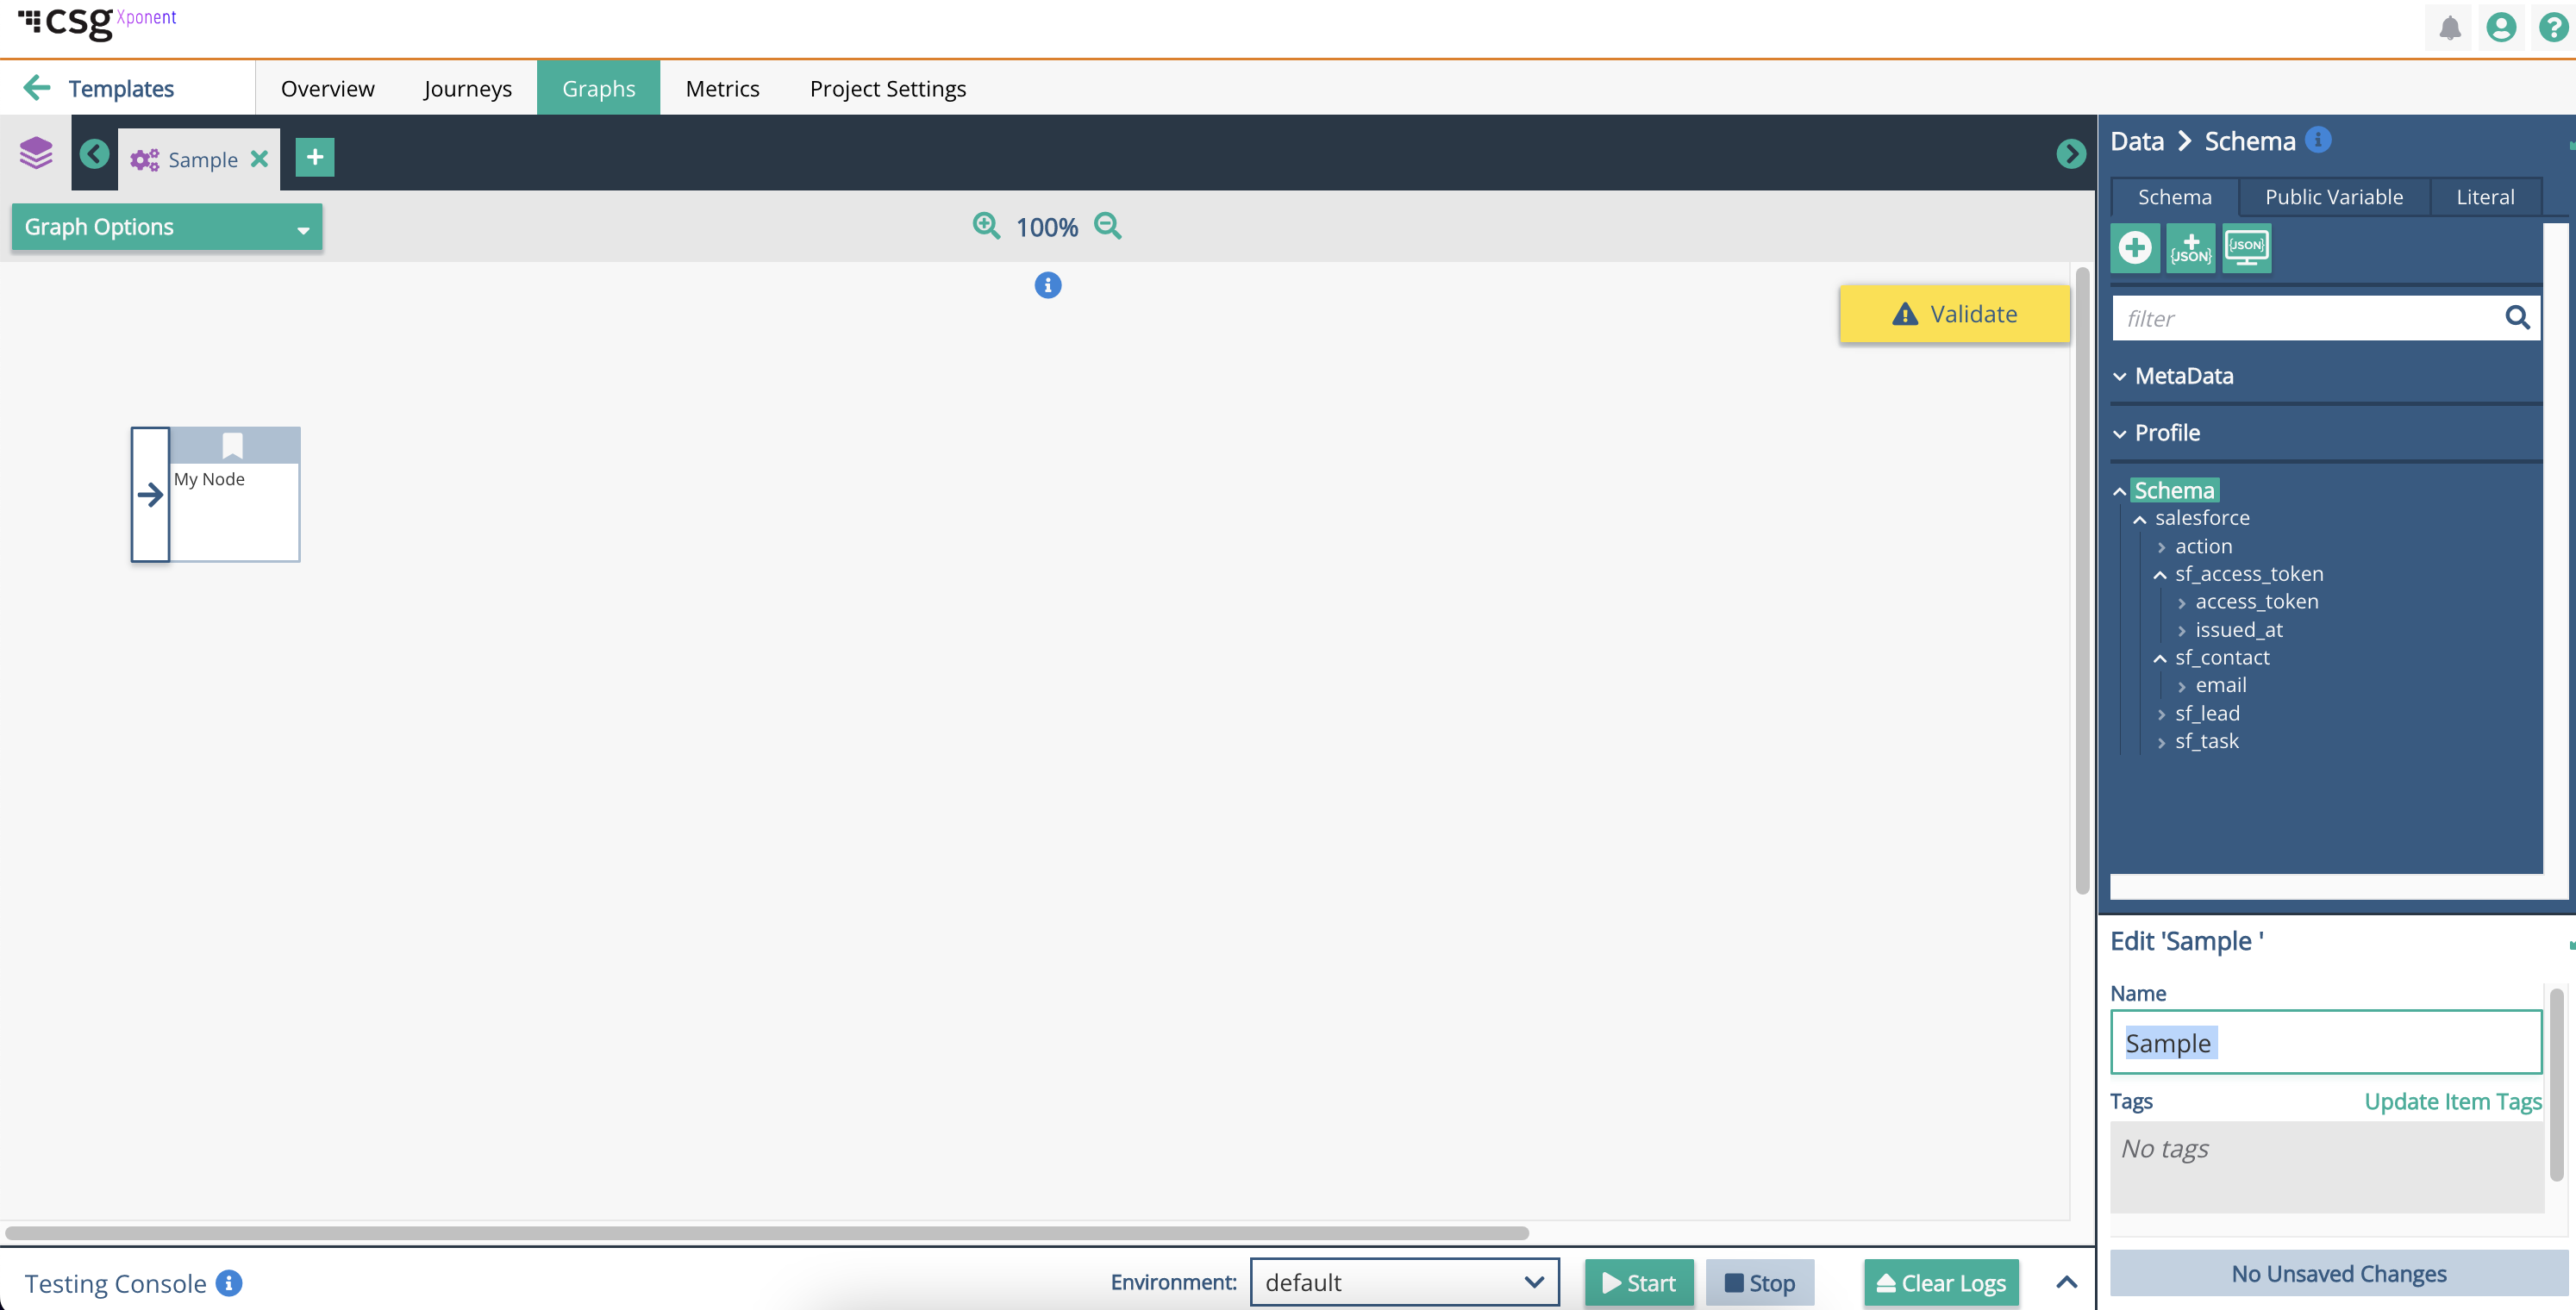
This will give a blank graph with a single Start Node as show below.
New nodes can be added to the graph by hovering over any existing node and dragging away from the link handle. Nodes can always be removed from the graph by right-clicking on the node and choosing Delete Node.
Nodes will generally snap to a grid if moved individually. Many nodes can be moved at once by creating a rubber-band selection around the nodes and then selecting the grey background to move all of the nodes.
Nodes can be deleted by right-clicking on the node and selecting - Delete Node. Any links associated with the node will also disappear with the node. Links can be moved separately by grabbing the connection point and moving it to a new node.
Replacing Ghost Nodes
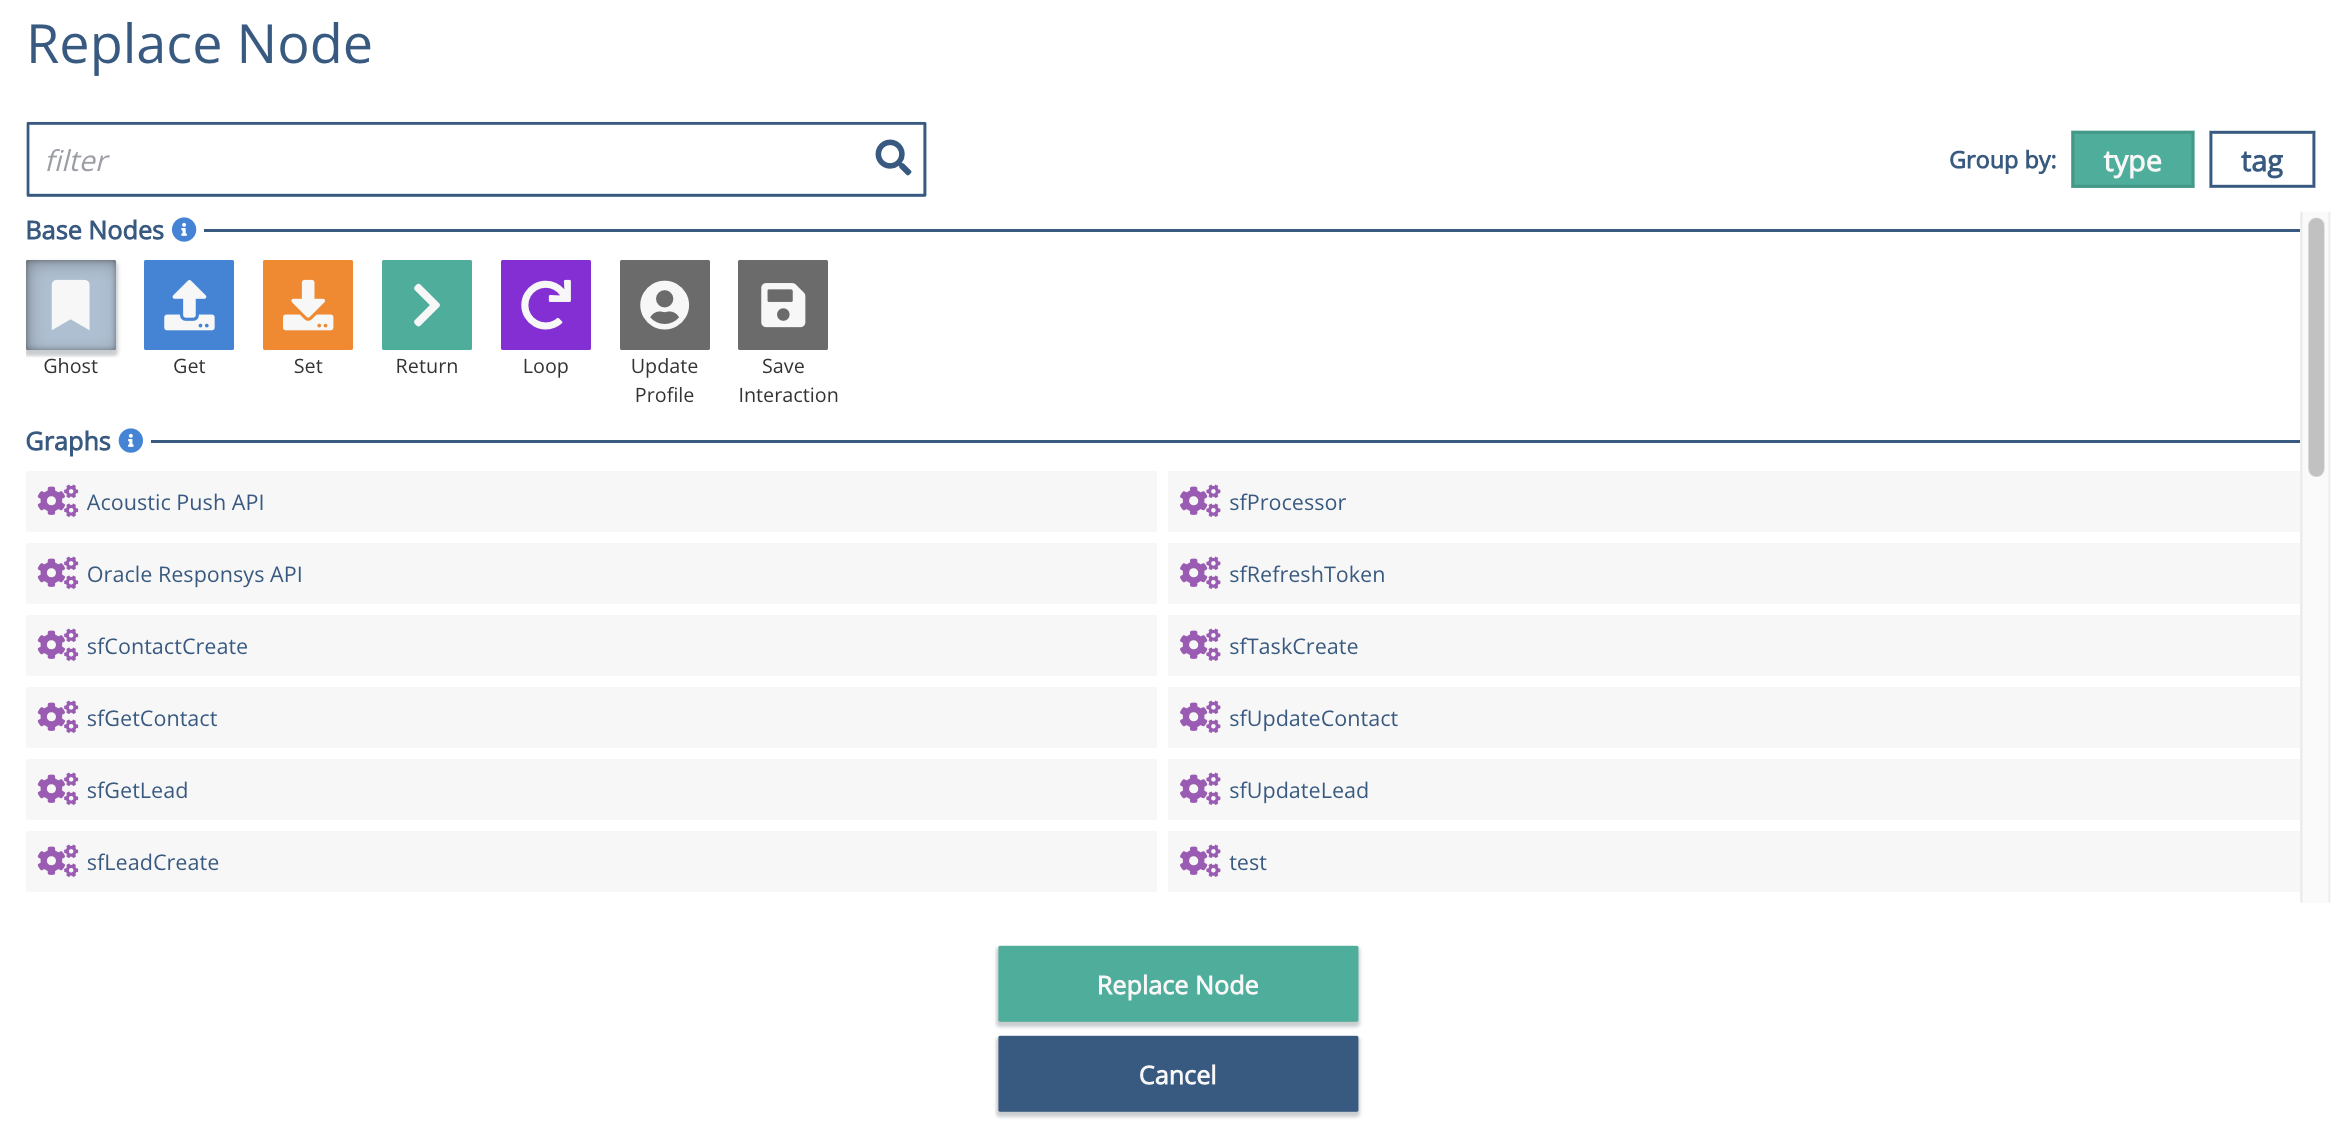
Any of the Ghost Nodes - shown by grey boxes - in the graph can be replaced by double clicking on the node or right-clicking and selecting Replace Node. Either action will bring up the Replace Node chooser window which shows all of the basic node types, previously created graphs and business logic.
Choose one of the nodes, graphs or pieces of business logic to replace the ghost node. This exercise can be repeated for all of the nodes in the graph. For each node in the graph it is then necessary to set its particular values for input and output.
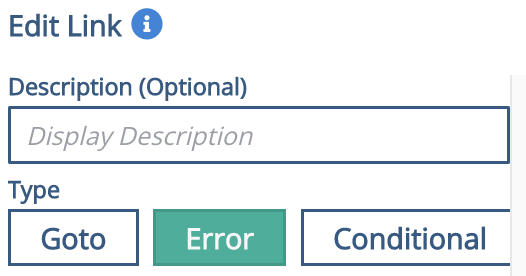
By default links are created as Goto links. The link type can be changed by selecting the link and using the Edit Link panel on the right hand side.
Links can be one of three types:
- Goto - traverse the link without any conditions
- Error - traverse the link if an error occurs in the node
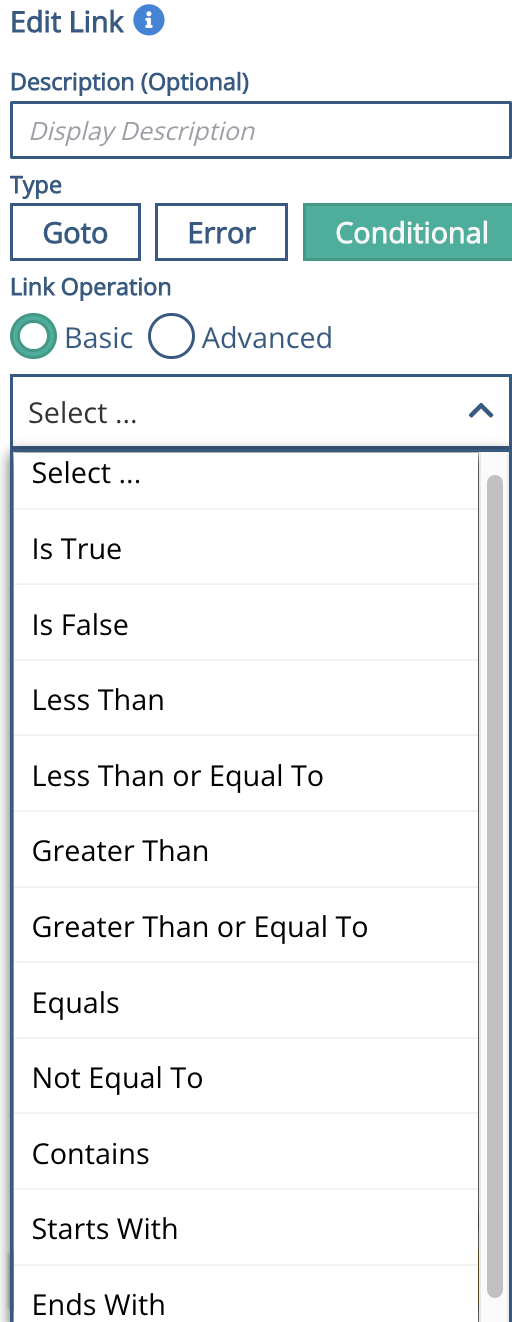
- Conditional - traverse the link if the Link Condition evaluates to True
In each case an alternative Link Description can be given. This is useful in particular if you have a long Condition that can be summarised more easily with a short description.
Conditions
Conditions can be chosen from the list of basic expression types or they can be advanced expressions.
Advanced expressions are any valid JavaScript boolean expression. The value of the preceding node is automatically populated into the variable VAL. Common expressions include:
String equality
VAL === "My String Value"
Numeric equality
VAL == 6
See the reference section on Conditions and expressions for further examples.
Adding Journey Steps to a Graph
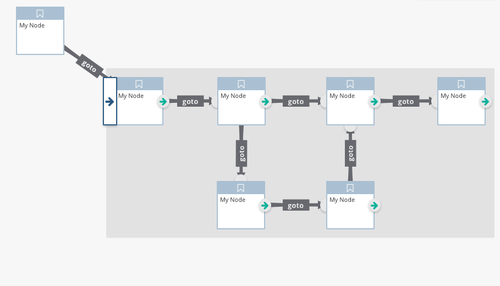
A Journey Step can be added to a graph to ensure all key business points of interests are followed and executed.
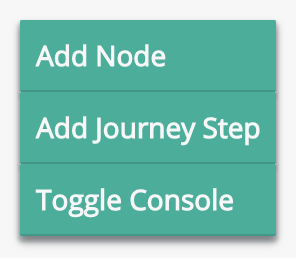
When you click on "Add Journey Step", the dialogue box will display and you can select from the list of journey steps you have previously defined and add it to the graph. The chosen style for the
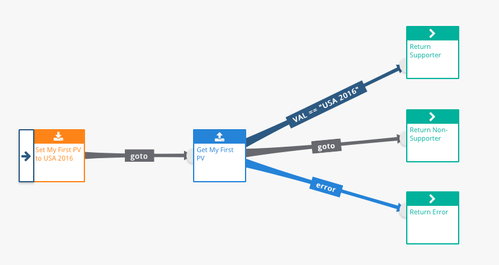
A Journey Step as part of a graph:
You can still create and associate metrics on all other graph nodes in the same manner as before.
Graph Validation
A graph can only be executed if all of the following conditions are true:
- There are no ghost nodes
- There are no ghost links
- There are no nodes which have an input or output that has not been mapped to a data source
- There is at least one return node
Once all of these conditions are satisfied the Graph Editor window will show the indicator. See the Validation Warnings section below.
Graph Editor Collaboration
The Journey Map and the Graph Editor are collaborative tools. Only one person at a time can be editing a graph but multiple people can be viewing the graph. If the graph is being edited by another user then the screen will be "gray" and a "Currently Being Edited By" message will be shown at the bottom right of the screen. You can watch other people modify the graph whilst it is in a locked state.
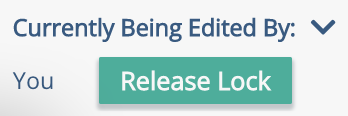
To take the lock press the Release Lock button. This will allow you to edit the graph. If two people release the lock at the same time the next person to actually edit the graph will be the person who captures the lock.
Validation Warnings
Warning | Note | |
|---|---|---|
| Graph does not have a return node | Every graph must have at least one return node. | |
| Graph contains ghost nodes | Before a graph can be executed all ghost nodes, shown in grey, need to be replaced with executable node types. The number in parentheses shows how many ghost nodes there are. | |
| Graph contains ghost links | Before a graph can be executed all links must be one of Conditional, Error or Goto. Click on the highlighted links to set the type of the link. The number in parentheses shows how many ghost links there are. |
Related content
Privacy Policy
© 2022 CSG International, Inc.


.png?version=1&modificationDate=1570823947752&cacheVersion=1&api=v2&width=210&height=370)
