Creating a Journey Step
- Atul Dattatray Bhujbal
- Former user (Deleted)
A Journey Step represents a moment of interest to a business within a consumer journey. As an example, some journey steps are made up of simple interactions, like downloading a white paper, or completing a form submission or it may involve a number of interactions over a longer period of time, like deciding that a customer is fully onboarded because they have used all of the relevant services on their new product. When you consider creating journey steps, you should include only concrete, stable and well defined events.
In creating your journey steps, you can also define whether the journey step in question is a positive, neutral or negative result, e.g., if a journey step is "leaves website" then the outcome would most likely be tracked as "negative" in Outcome.
You are encouraged to create journey steps first prior to creating a journey map so you can understand how to tie-in key business points of interests in the journey map. A journey step, once created, can be associated to multiple graphs and journey maps.
Creating and Adding a Journey Step
To add a journey step click on  in the Journeys tab of your project.
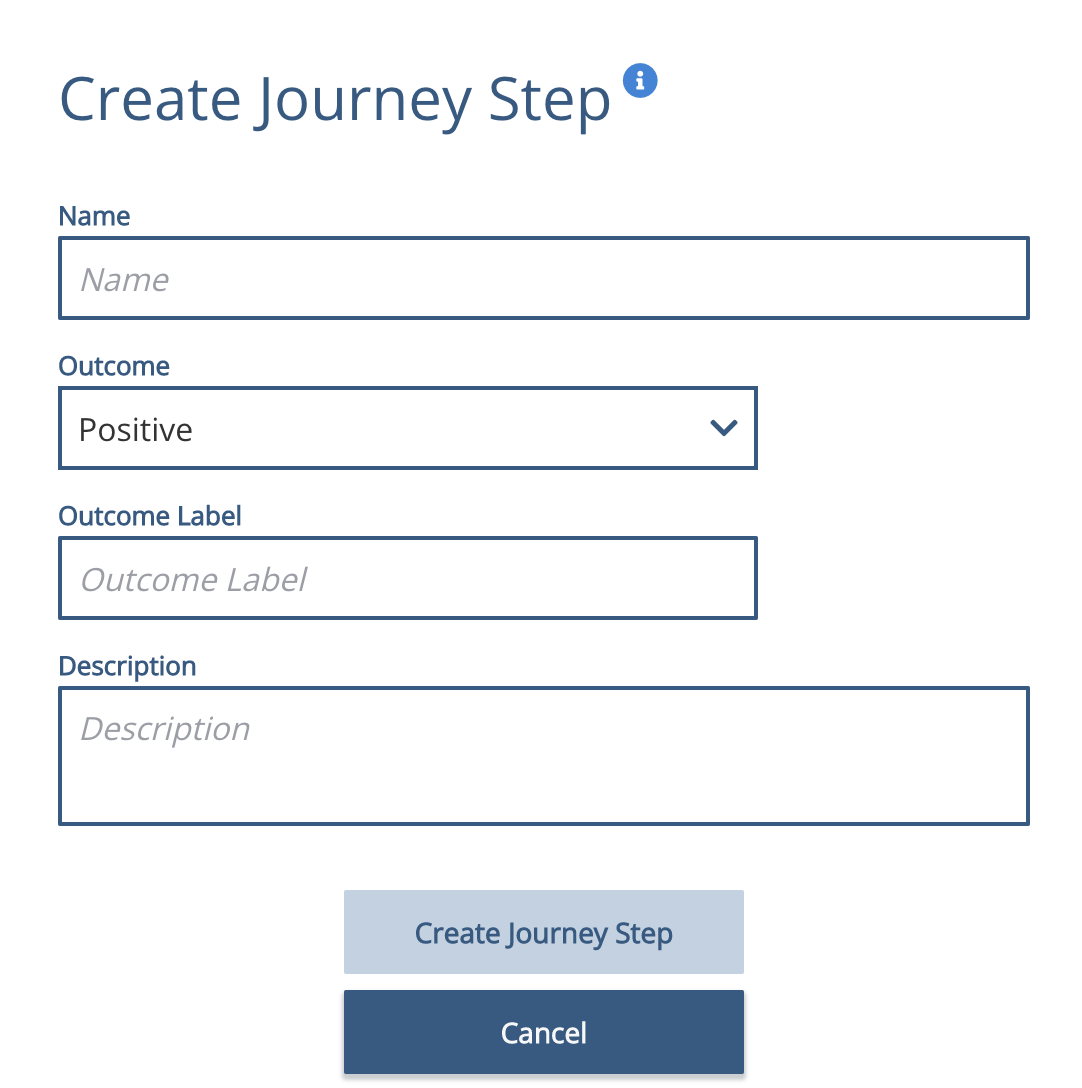
This will show the Create Journey Step dialogue box. In order to create a new journey step, you need to input a Name, define and label an Outcome, write a Description and then press the Create Journey Step button. The Outcome Label is used within Journey Discovery Analytics.
Once you have created your journey steps, these can now be used within a journey maps and graphs.
Using Journey Steps in a Journey Map
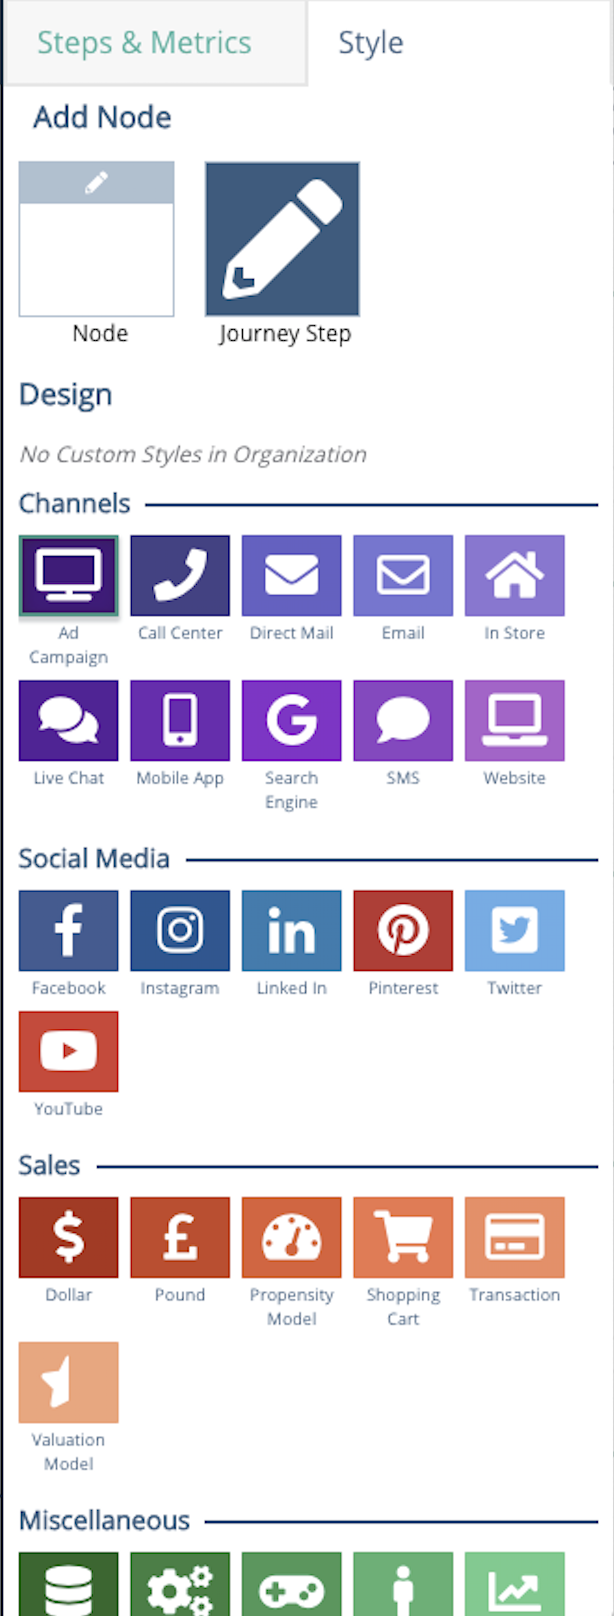
When editing a Journey Map the right hand column has two tabs "Steps & Metrics" and "Style". The journey steps you have created will show up under the "Steps & Metrics" tab. Simply double click on one of the journey steps to add it to the journey map view.
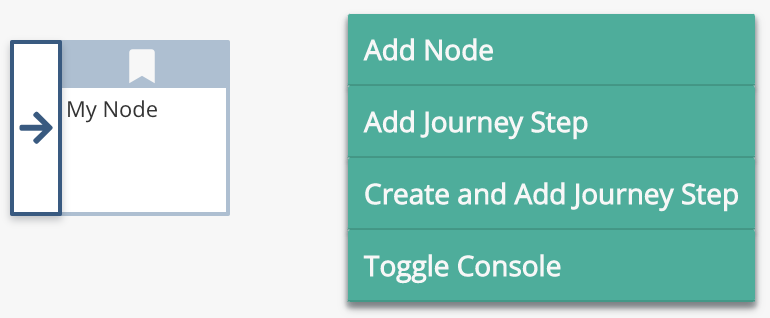
You will also be able to add a new journey step in the map directly. Just right click and select "Create a Journey Step". The same modal will appear. Input the information and click "Create Journey Step" to save the information. The journey step will now show up in the "Steps & Metrics" tab.
Using Journey Steps in a Graph
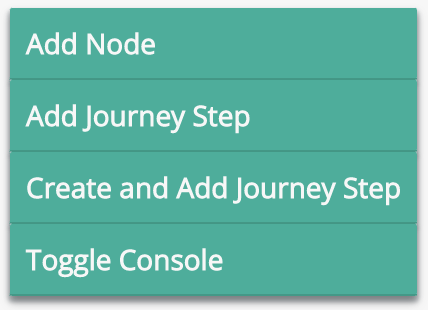
To use a journey step in a graph, select the graph you want to view and right click inside the graph. You will see the ability to Add Journey Step in the dialogue box. Adding a Journey Step to a graph will create an association which is shown on the Journeys tab for that Journey Step.
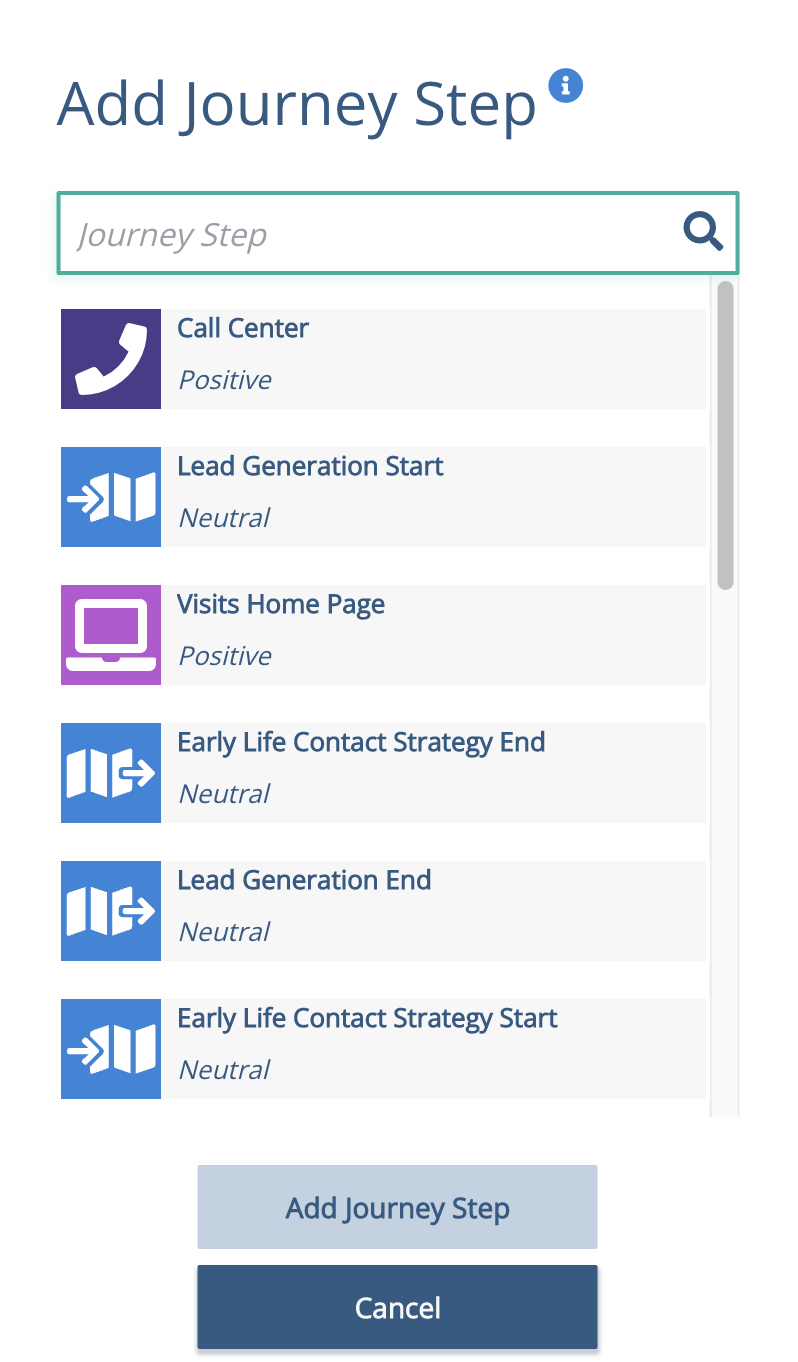
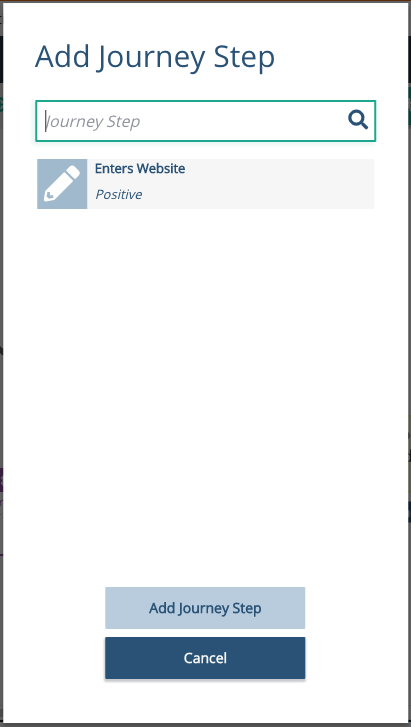
Once you select the Add Journey Step, you will see the the list of journey steps you have already created. Select the desired Journey Step that you want to add to the graph and click "Add Journey Step".
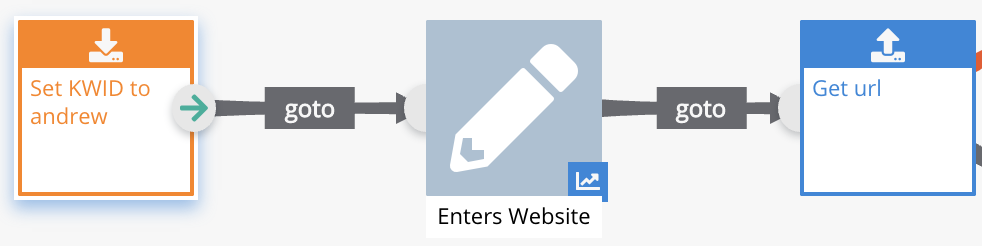
The journey step shown in the graph will be visually represented differently from other nodes, allowing you to easily identify where the journey step is located and what it is connected to.
Customizing the Journey Step Icons
When a journey step is first created, it will be a gray pencil icon. You can customize the journey steps in the journey map via the right hand panel.
Once you have customized the journey step, the updated icon will also be reflected in the list of Journey Steps.
Managing the Journey Steps
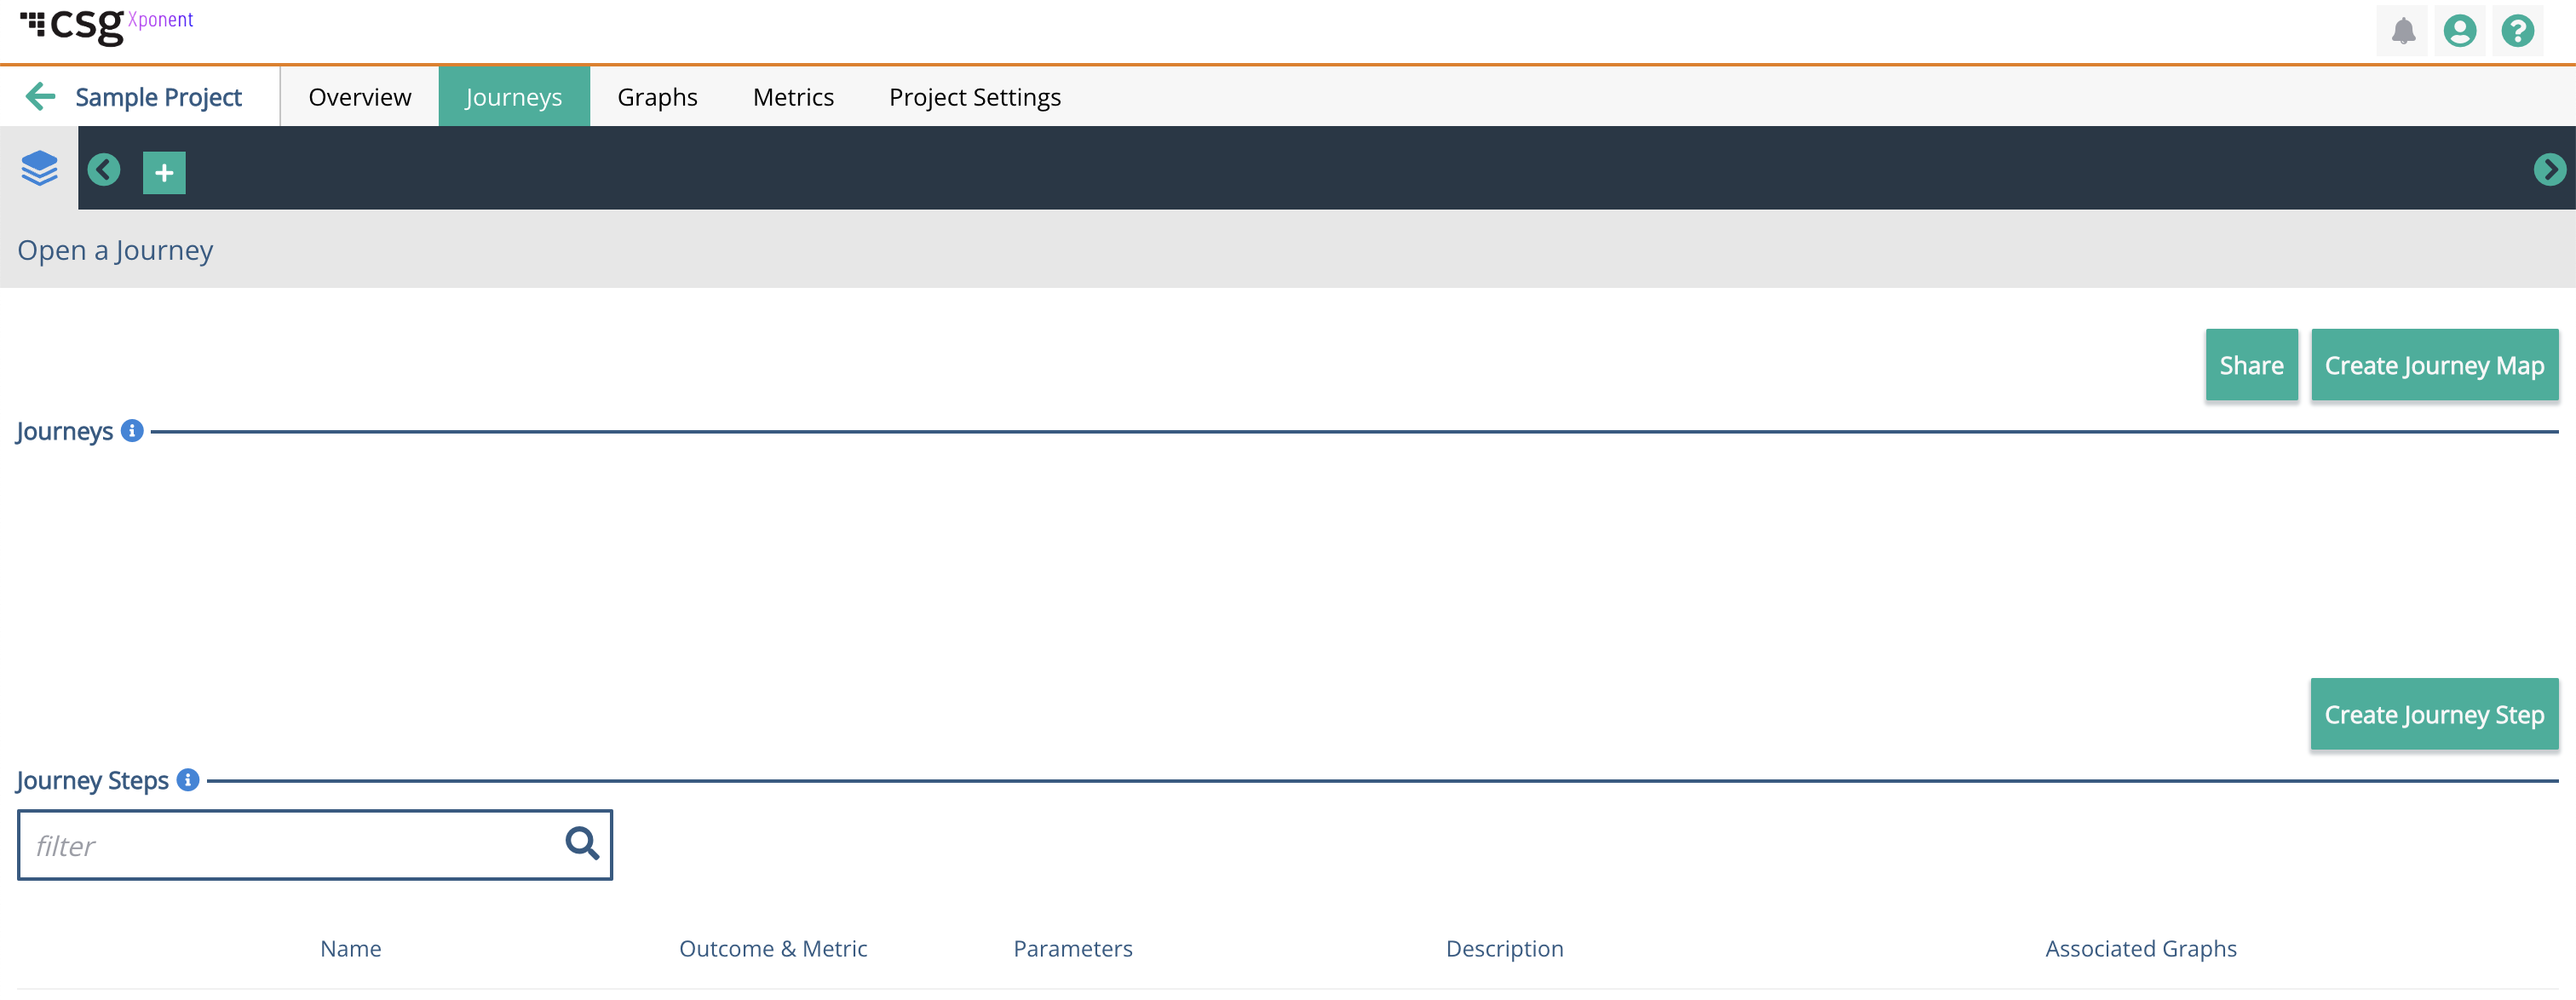
Journey Steps can be managed in a dedicated section under the Journey tab. To view, click on the Journey tab in the navigation bar and select the Journey you want to view. Once you have selected the journey, the associated journey steps will be listed below. You will be able to create new journey steps, edit or delete a journey step. You may also view and associate a graph to a particular journey step in this view.
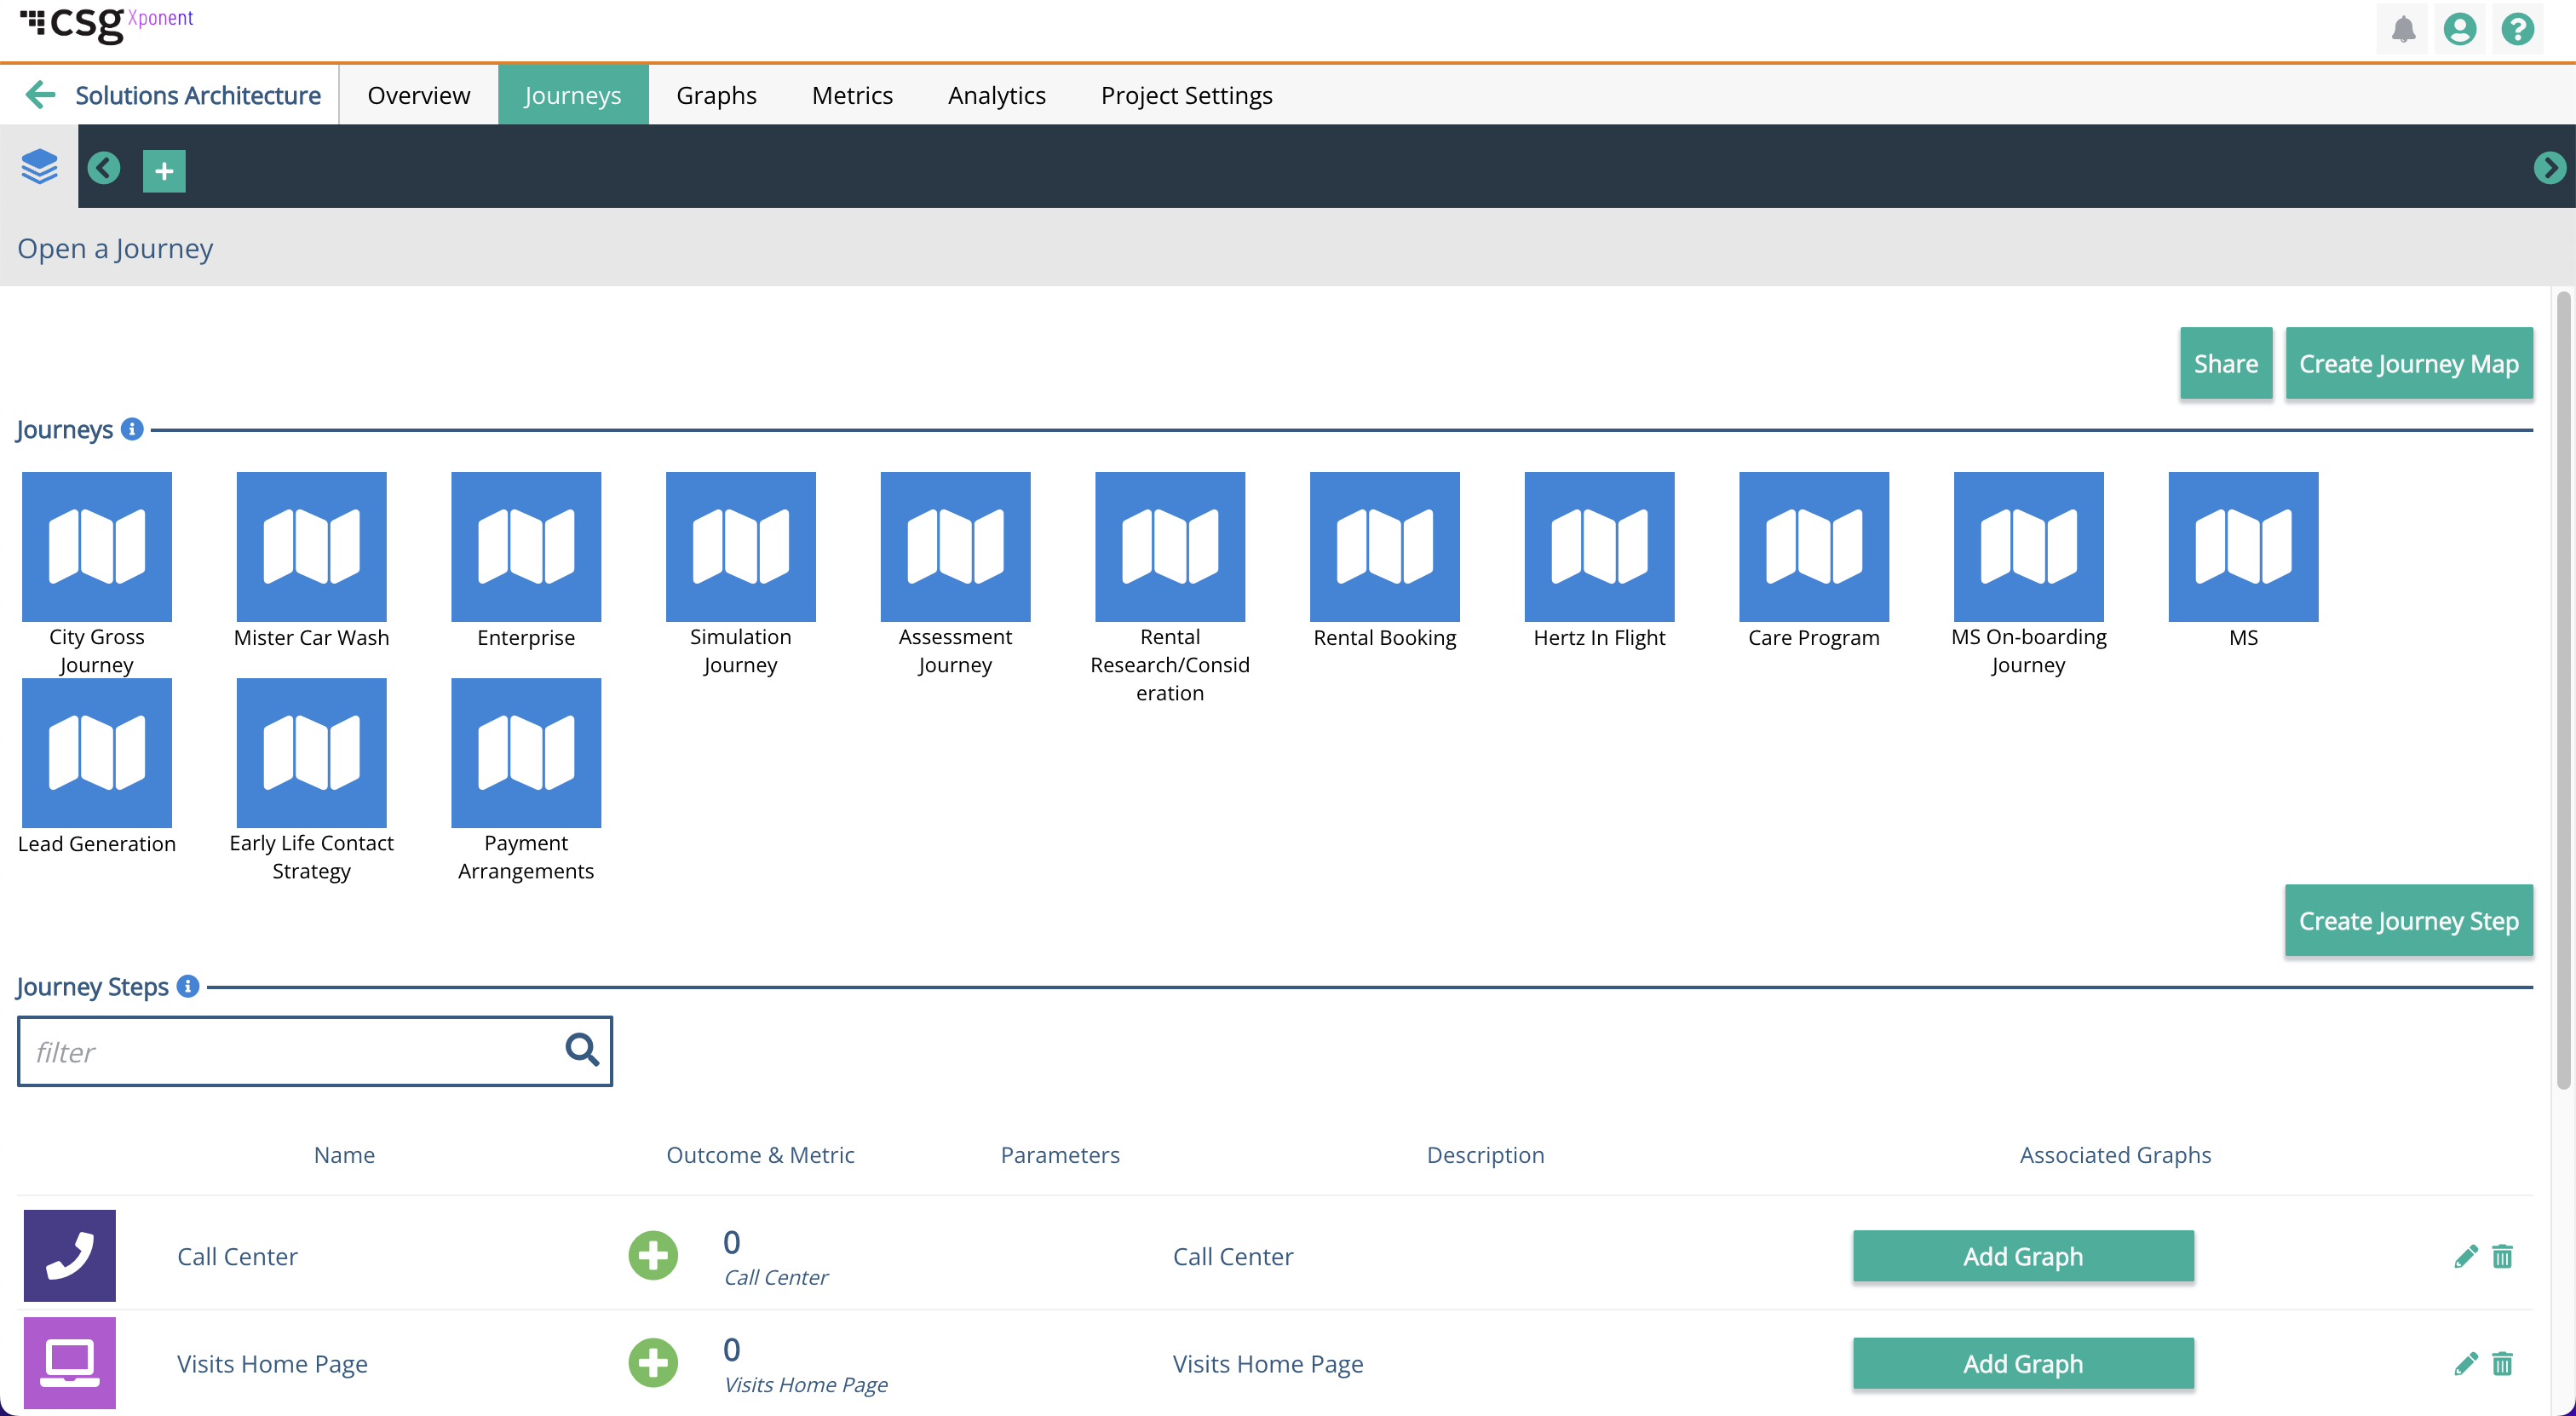
The full list of journey steps will show the type of journey step, outcome (positive, neutral or negative), outcome metric, description and the graphs associated with the step itself. The outcome metric is an unique count of the profiles for that particular step.
Edit a Journey Step
To edit a journey step, click on the pencil icon ![]() to edit the following information:
to edit the following information:
- Journey Step Name
- Outcome Type
- Outcome Label
- Description
It is important to note that editing a journey step will not alter the outcome metric so be sure that information you are editing will still match the outcome metric that has already been associated. You can associate a metric to a journey step the same way as before. Just right click on the journey step and select "create and associate metric" or just "associate metric".
Delete a Journey Step
To delete a journey step, click on the trash can icon ![]() . If the Journey Step is associated with one or more graphs you will be presented with a warning:
. If the Journey Step is associated with one or more graphs you will be presented with a warning:
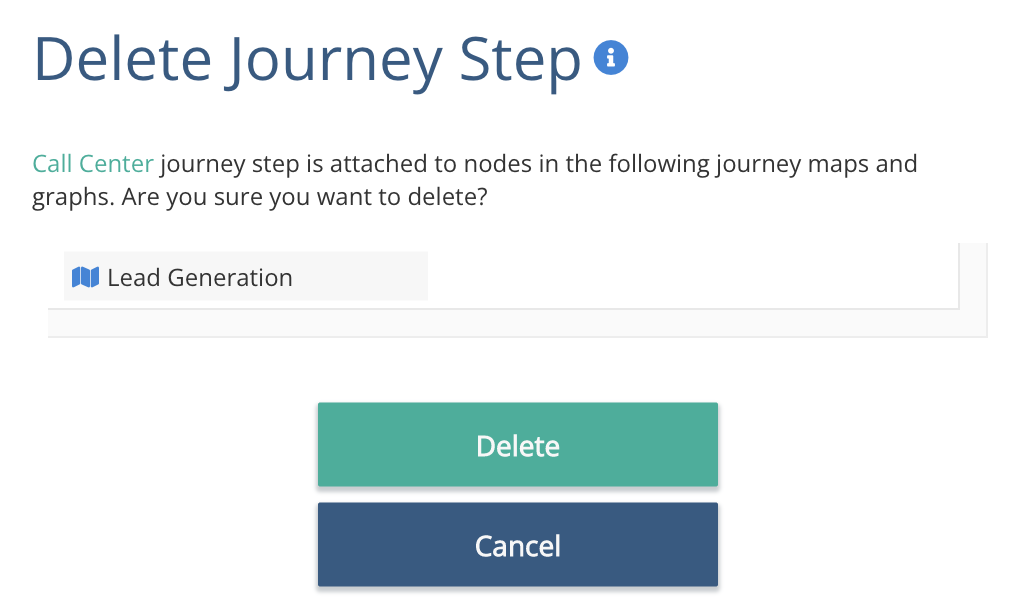
Deleting a journey step from the Journey tab view will then make the journey step in associated graph become a ghost node. Deleting the said journey step will then also make the journey step in the associated journey map into a regular journey node. You will need to re-associate and/or add the journey step to the graphs and journey map.
Associating Graphs to a Journey Step
To help the business understand whether a journey step is functioning as designed, you can now associate relevant graphs to a particular journey step.
To associate a graph to the journey step, click on the button to add the graphs you want associated with the selected journey step and you will be redirected to the Graphs tab.
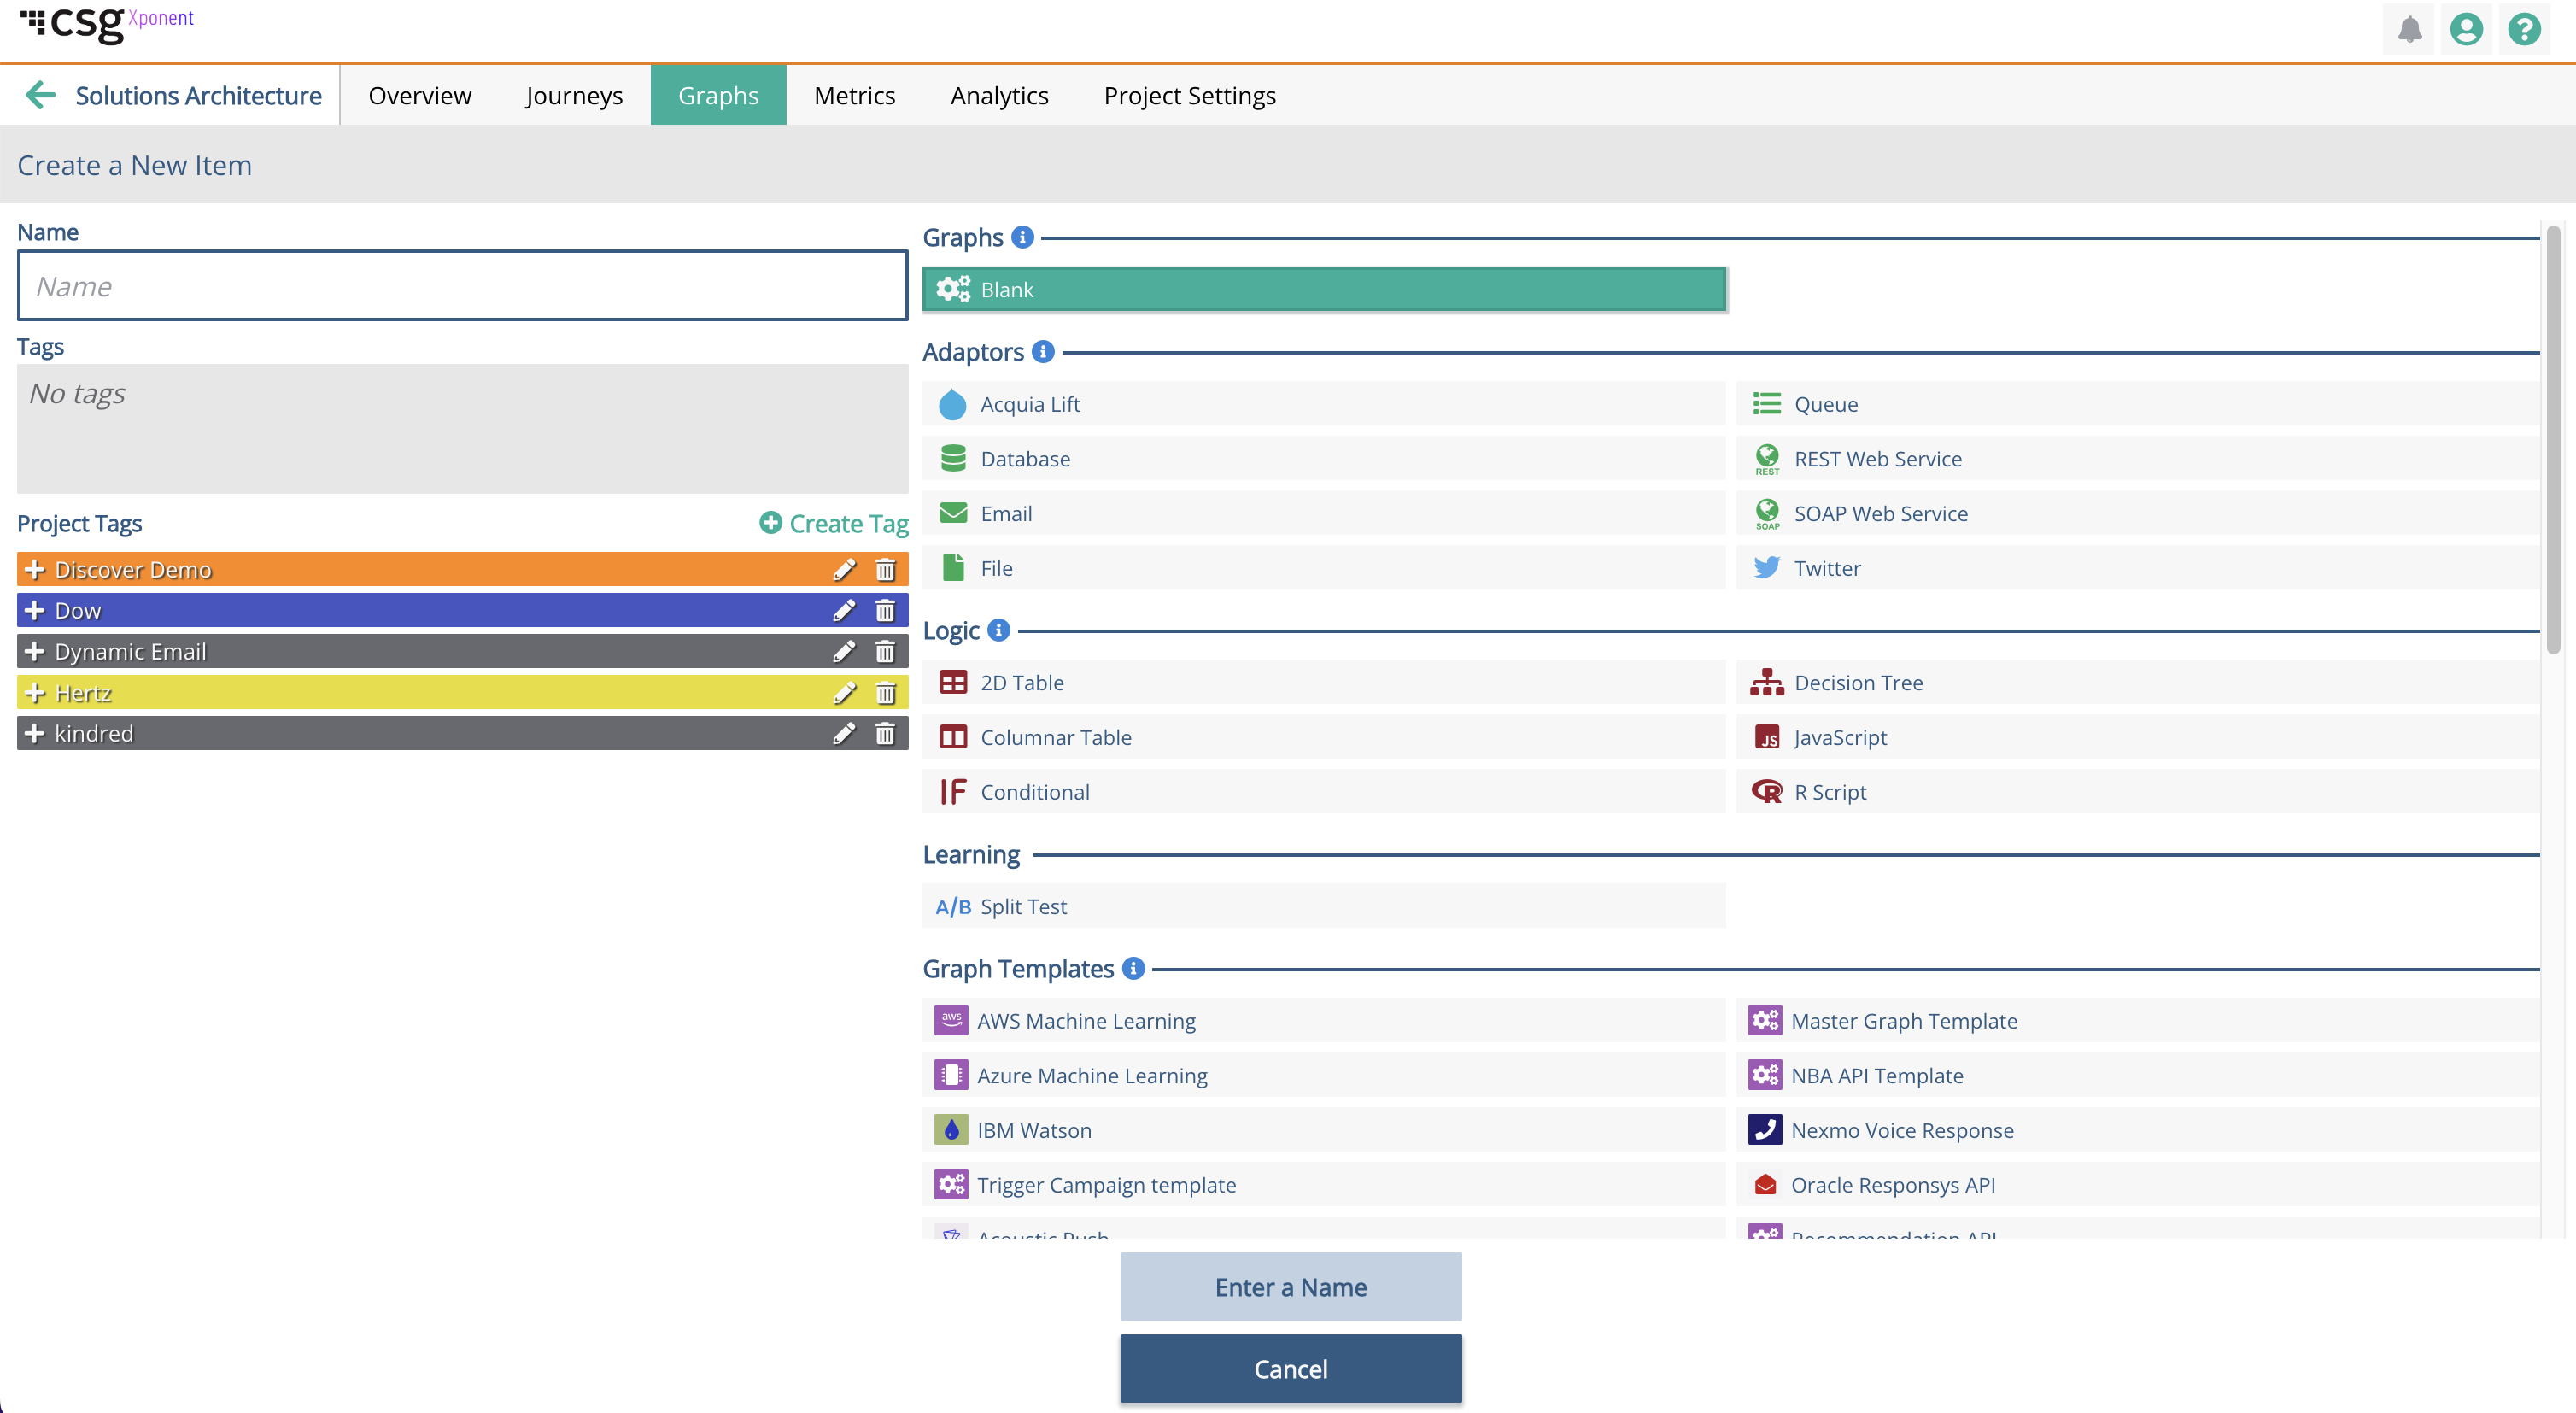
Once you have selected the graph by double clicking on the graph itself, you will need to then right click in the graph and then click on "add journey step".
A dialogue box will appear where the list of journey steps will be shown and you will be able to select the journey step you want to add to this graph. You must do this in order for the journey step to be associated to the graph.

You can associate as many graphs as necessary.

Privacy Policy
© 2022 CSG International, Inc.